


Seed Starting for the Home Gardener
Seed Science, Direct Sowing, Grow Lights
As a reminder: This article and all of my articles are written from the perspective of a gardener with a 1/4 acre lot in suburban Philadelphia, Pennsylvania, US, zone 6b/7a, with heavy clay, rocky soil. My garden is typically frost free between May 15th and October 15th.

Introduction and Motivation
I started gardening the way most people start gardening. I went to the nursery and purchased a few annual flowers and a couple tomato plants for my apartment balcony. I continued to buy plants from various nurseries for container growing on apartment balconies, patios, porches, and stoops as I moved around when I was younger. When I lived in a rented house with a little more space to garden, I became interested in growing from seed for predictable reasons: cost, variety, lack of availability of nursery plants in early spring and late summer, and wanting to grow crops that don’t transplant well. Most gardeners who want to expand their practice eventually make the jump to growing at least some of their crops from seed for some or all of those reasons. If you’re new to the idea of sowing seeds, this may feel intimidating. A neighbor once asked me to help her grow cucumbers and melons for her kids. She said, as part of her request, “After all, it’s not just putting seeds in dirt and I don’t know what to do.” I assured her then, and I assure you, now, reader, that it is as easy as putting seeds in dirt, especially if you choose to directly sow seeds where you want them to grow in the garden or in containers all season long. I hope to ease any anxiety you have about trying something new and to provide you with all of the information you need to be successful on two levels: direct sowing with no equipment and seed starting for transplant with equipment. First we need to cover the basic science of what a seed is and how a plant develops from a seed.
Science
Some basic understanding of what triggers a seed to germinate will help you feel confident and also help you to determine why seeds may not be germinating for you. A seed is a flowering plant’s unit of reproduction which can grow into another such plant. The process of a plant developing from a seed is called germination. Each flowering plant species has a set of germination triggers that can include humidity, temperature, light, darkness, or a dormancy period. Knowing these germination triggers will help you succeed. Seeds need moisture to soften their protective outer coating, their seed coat, so the seedling can emerge. The temperature at which a seed will germinate most efficiently is called the optimum germination temperature. Some plant varieties need higher heat to germinate, other’s don’t. Some seeds need light to germinate, so they should be sown on the surface or barely covered. Some seeds need darkness to germinate, so they should be well covered by the planting medium. If the germination triggers are not achieved, the seed will wait until conditions are right. Some seeds take a long time to germinate, even when optimal conditions are provided. Other seeds germinate in two or three days. Good seed vendors have germination instructions on their seed packets or on their websites. These instructions should include how deeply to bury the seed, when to start the seed relative to your frost free date, whether to sow the seed directly into the garden bed or sow early for transplant to the garden bed after a few weeks. The seed packet or seed vendor website should also include germination temperature information and how long the seed should take to germinate.
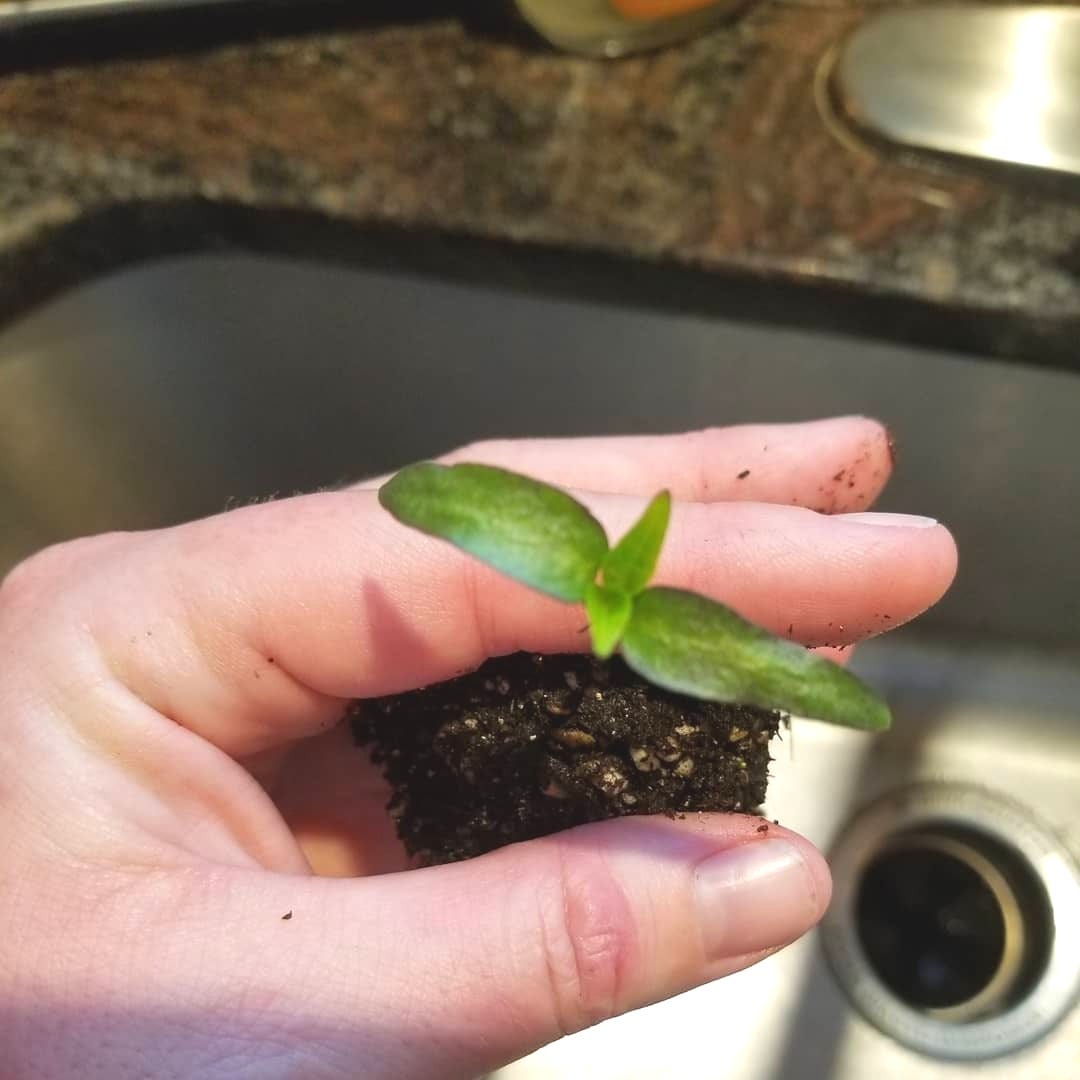
Once a seed’s germination criteria have been met, and the seed coat has softened, the seedling will emerge from the seed coat. The first part of the seedling to emerge from the seed coat is the radicle, or the tap root, that anchors the seedling in place. The hypocotyl, or stem below the seed leaves, unfolds from the seed coat next and pulls the seed leaves above the soil surface. The hypocotyl looks like a loop.

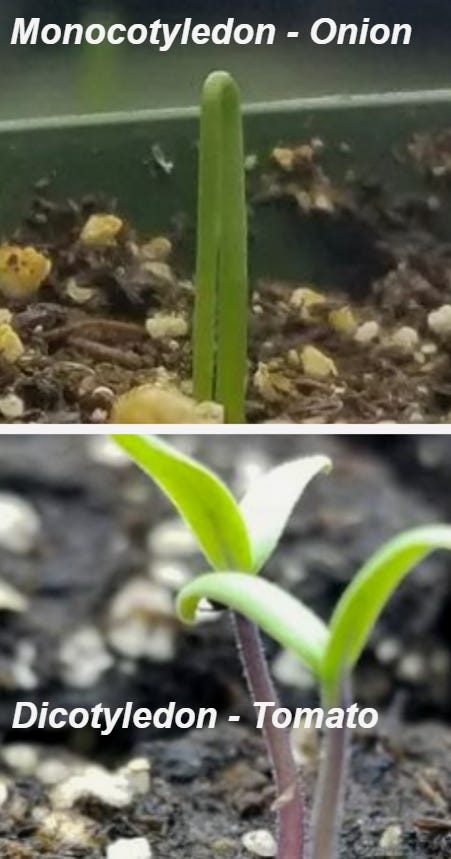
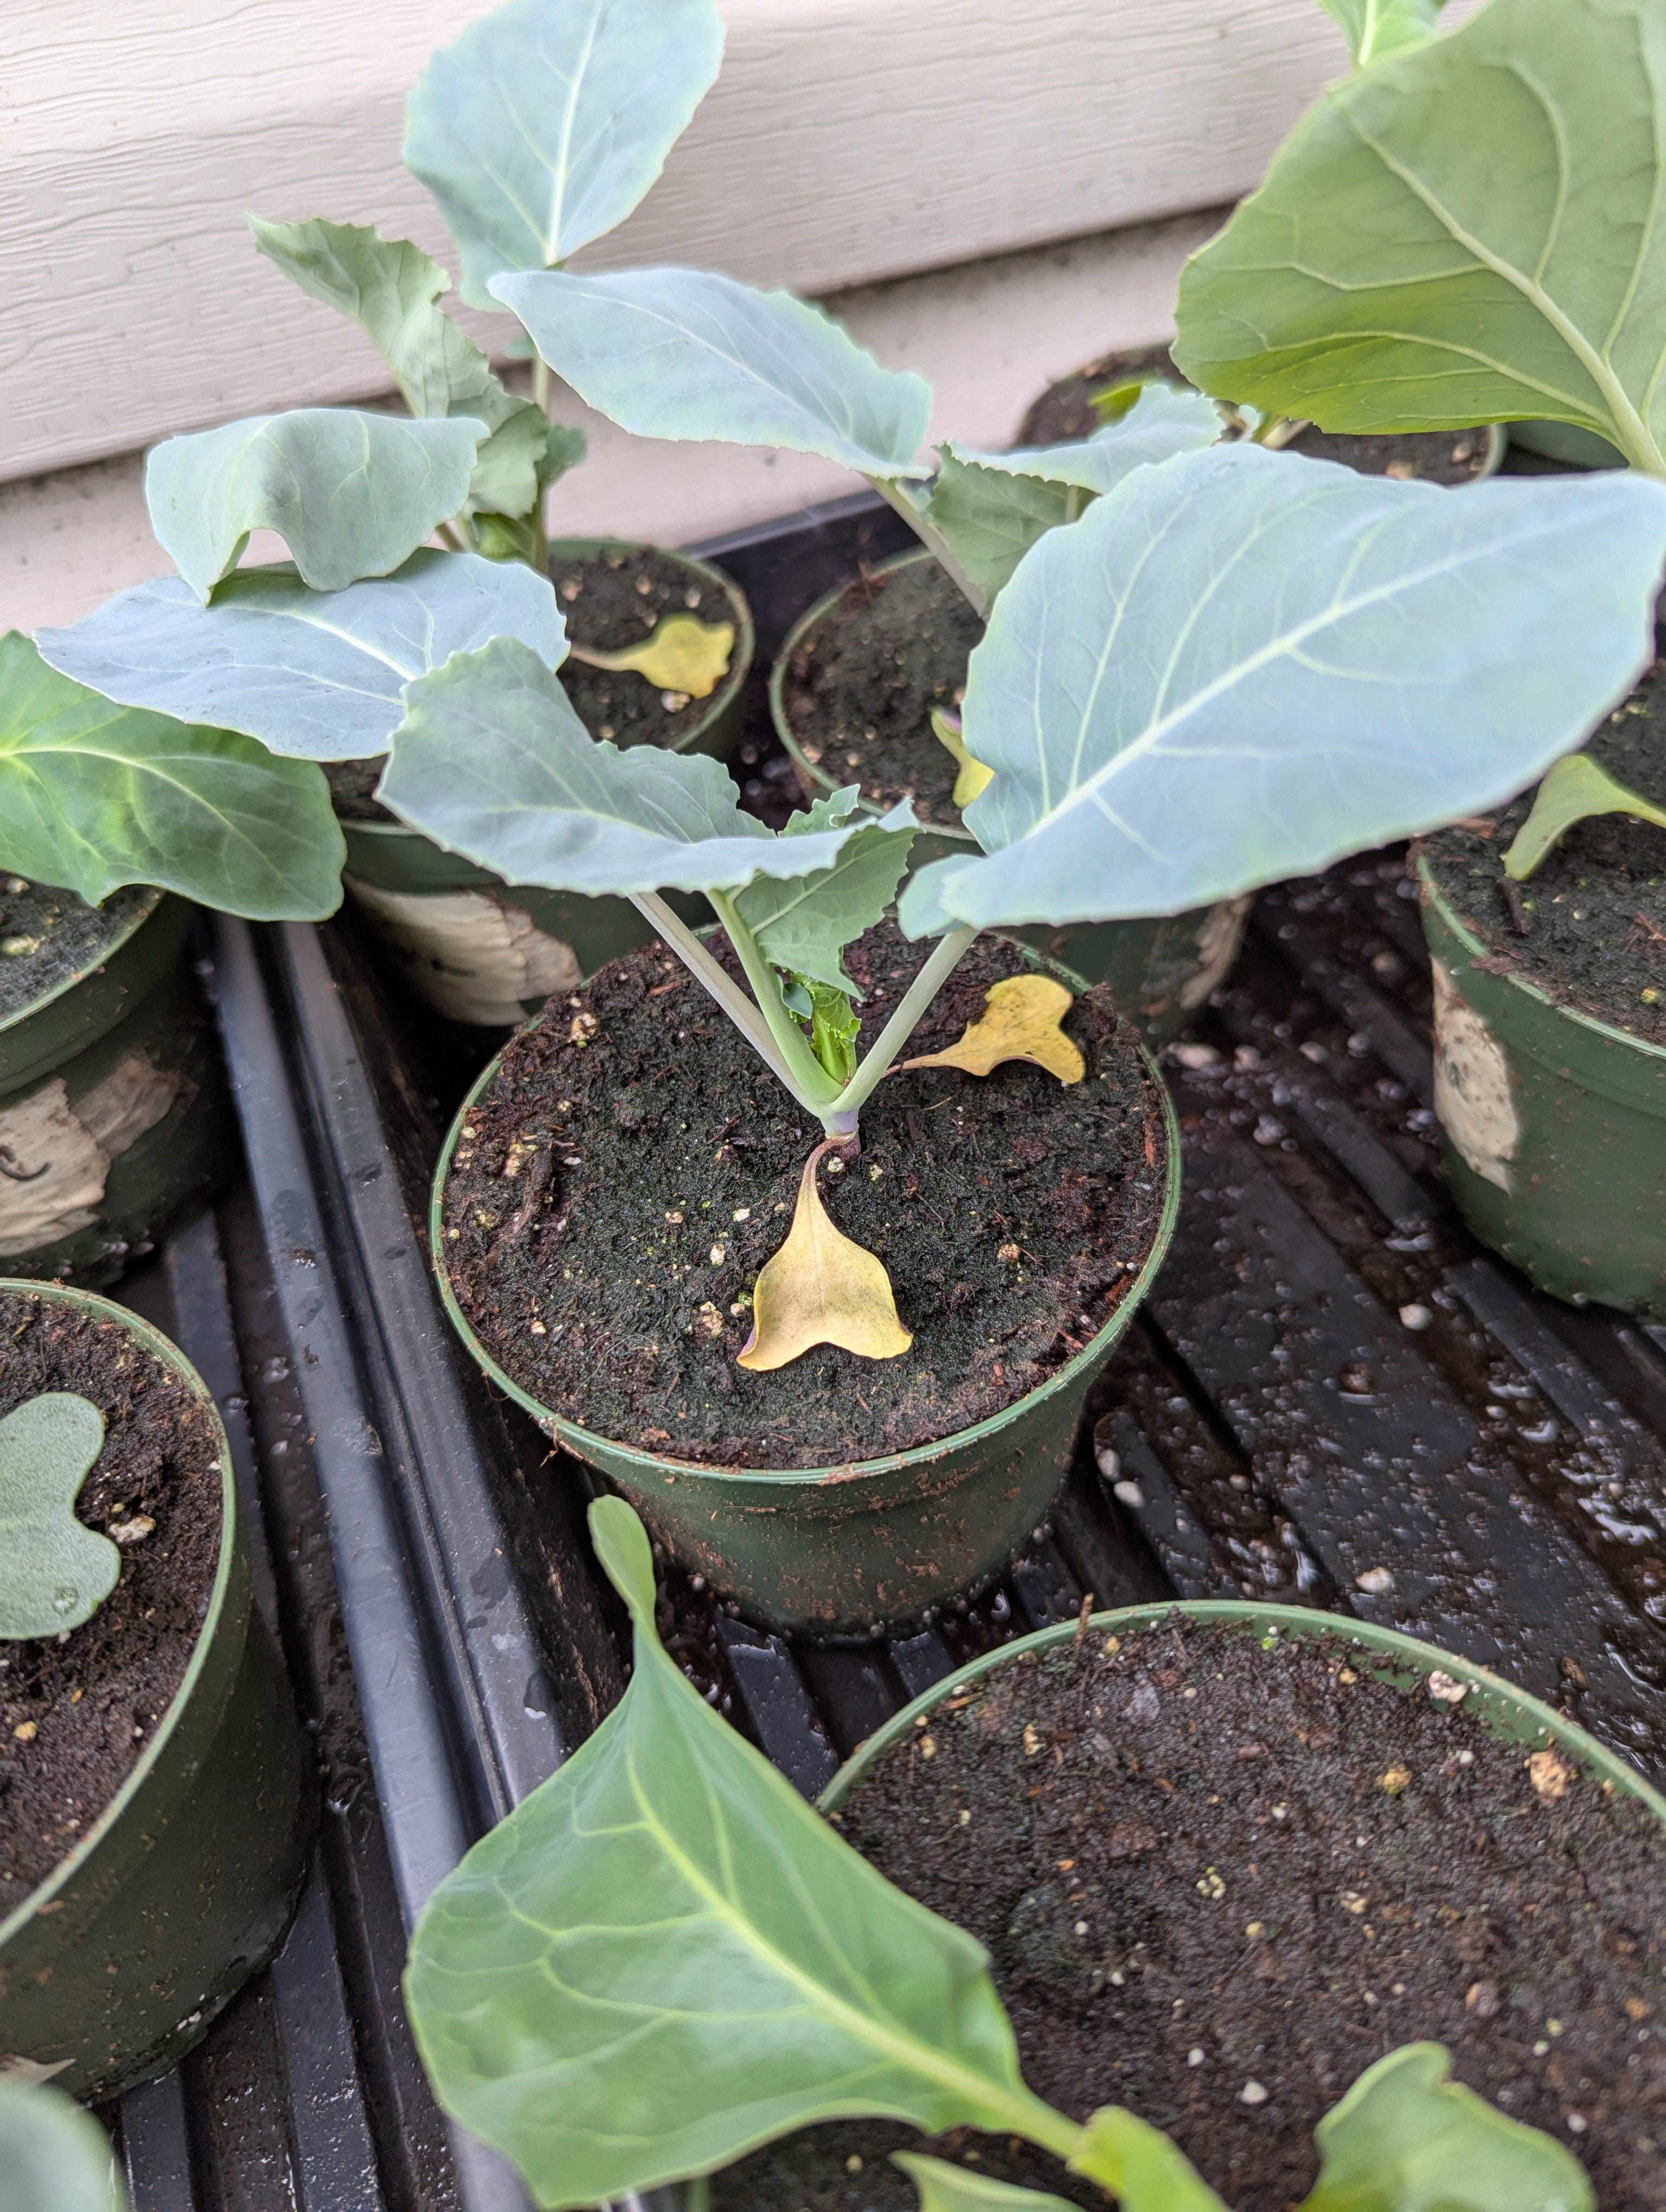
Seed leaves, or cotyledons, contain all of the energy a seedling needs to germinate and live before photosynthesis begins. The seed leaves themselves to not provide energy via photosynthesis; they provide stored energy. The vast majority of garden seed crops are dicotyledons; they have two seed leaves. Lettuce, broccoli, kale, tomatoes, peppers, carrots, spinach, beets, and almost everything else have two seed leaves. Crops like onions, corn, and lemongrass are monocotyledons; they have one seed leaf. The true leaves or foliage leaves of a seedling emerge from above the seed leaves a few days after germination. True leaves are the leaves that will photosynthesize for the plant. Often, once the cotyledons have served their purpose, they will turn yellow and die. As your seedling grows, it will produce more true leaves and all of its energy via photosynthesis.
Direct Sowing
When you sow seeds into the garden bed or container that you expect them to grow in all season long, you are direct sowing . Direct sowing is my favorite method for starting seeds and what I prefer to do whenever possible. Even though I have all the seed starting equipment I need to sow seeds indoors, I prefer direct sowing because it’s a lot less work than starting seeds indoors for transplanting later. If you use direct sowing to start your seeds, and the weather is dry, you will have to provide water until they germinate, grow, and become well established. That can be a disadvantage. Keeping seeds and seedlings watered can be a lot of work in hot, dry weather, depending on the size of your garden. You may have to protect your seeds from being dug up and displaced or eaten by squirrels, birds, and other animals by using hardware cloth or row cover over the area where you sowed your seeds. Another disadvantage of direct sowing can be the climate where you live. If you want to grow long season crops like peppers in a climate that gets a cold winter and lots of frost, you may not have enough warm weather to grow peppers outside by directly sowing the seeds. I have to sow my pepper seeds indoors eight weeks before the frost free date where I live to make sure I get a decent harvest of ripe fruit before the frost. My garden is frost free between May 15th and October 15th.
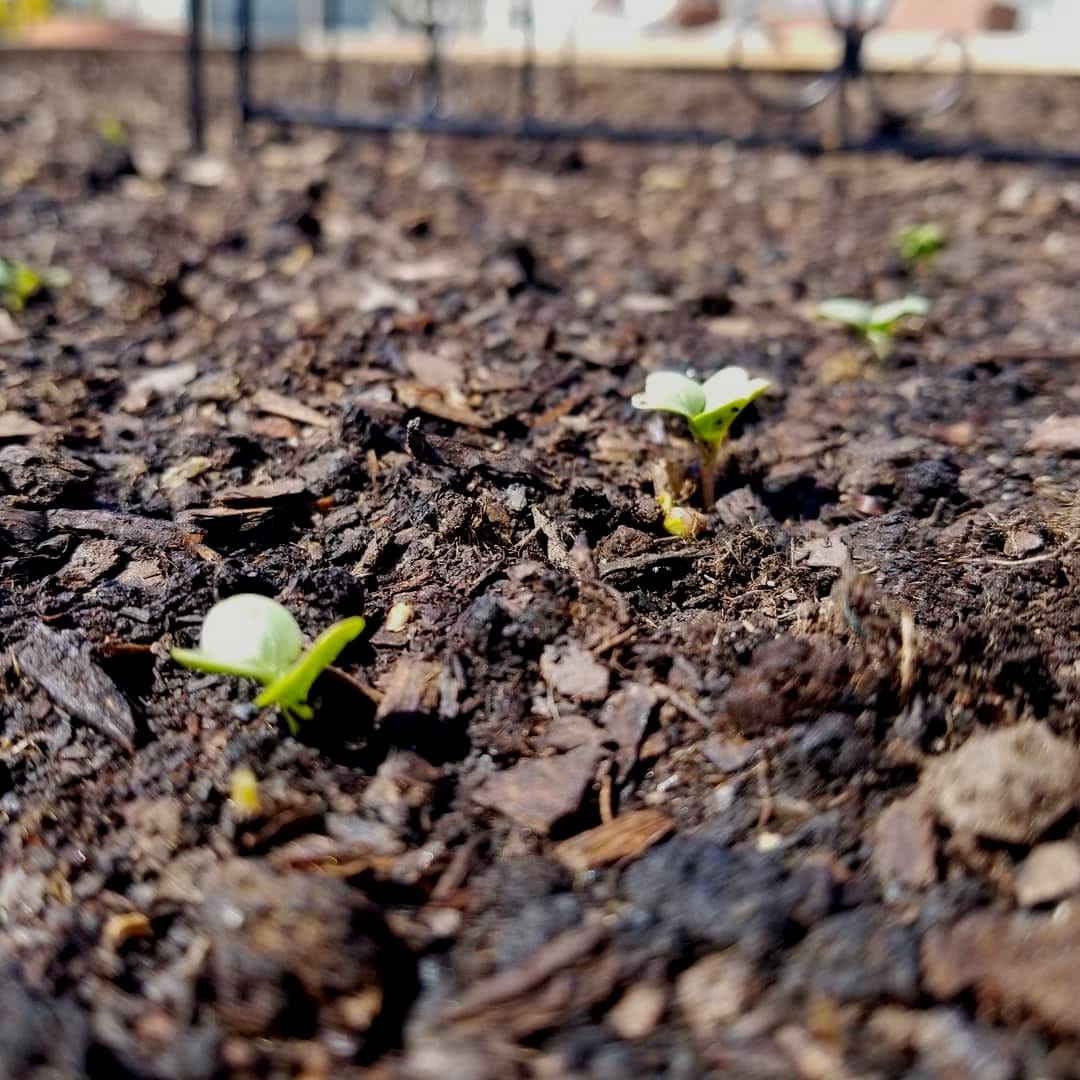
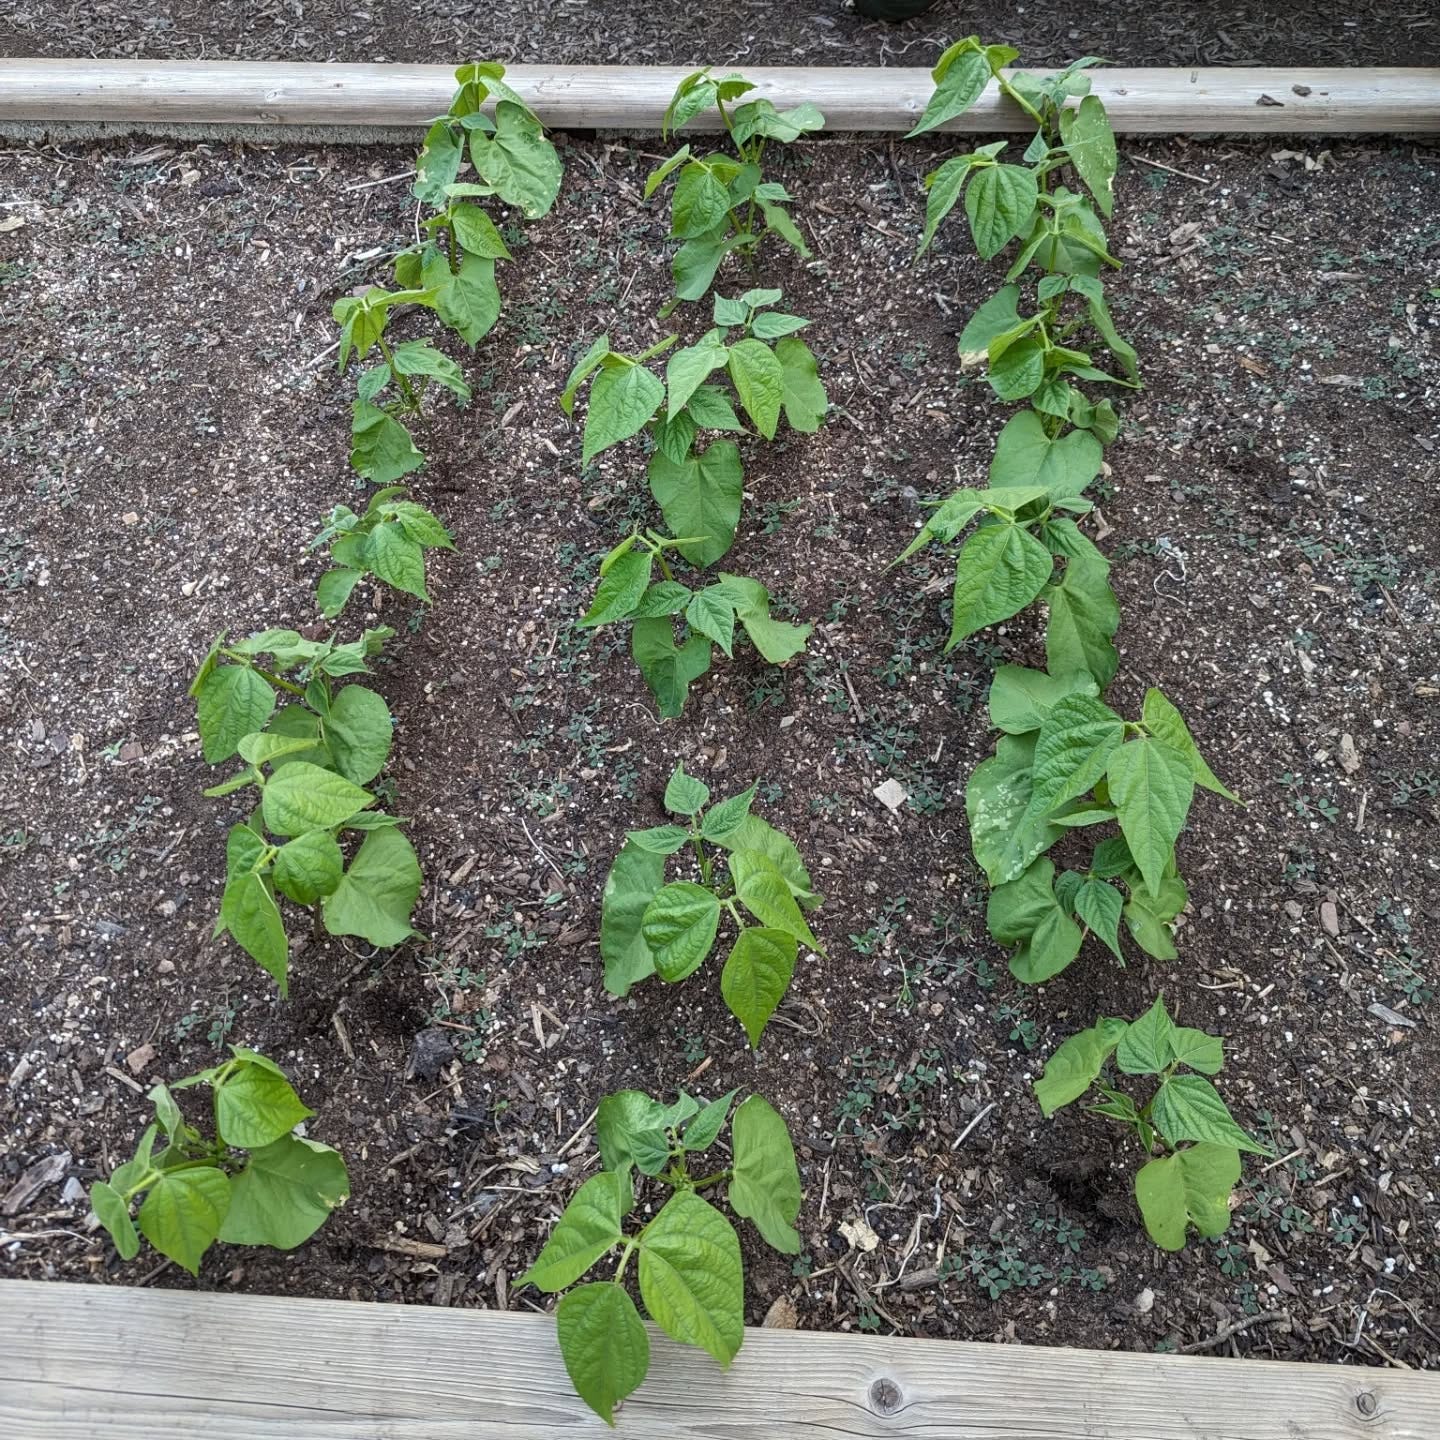
With the exception of those long season crops and some timing sensitive crops like onions, broccoli, and cauliflower, almost everything can be directly sown where you want it to grow all season long. It’s best to directly sow all root crops like carrots, beets, and turnips. Crops like winter squash, summer squash, melons, and cucumbers don’t like to have their roots disturbed by transplant. They do very well directly sown. If you want to sow them for transplant to get a head start, its best to use a large nursery pot and plan to sow them no more than four weeks before the target transplant date so you don’t disturb their roots. Lettuce, kale, chard, mustard, arugula, basil, cilantro, and dill are very easy to grow from seed with the direct sowing method. Corn and all types of beans are easy to grow this way, too. Popular annual flowers like zinnia, sunflowers, poppies, cosmos, and nasturtium are also easy to grow from directly sown seed. Follow the directions for seed depth, spacing, temperature, and timing on the back of the seed packet or on the seed vendor website.
Sometimes seed vendors have rather vague instructions on their packets that can be frustrating for new gardeners. They may include phrases like “as soon as the soil can be worked” or “when the soil has warmed.” Here’s what those phrases mean. The soil can be worked when it’s not frozen and not muddy. The season has progressed enough so that heavy snows and frozen ground are no longer possible. The soil has thawed and it’s drained. It’s not sticky mud in your hands. The soil has warmed when you’re a couple of weeks beyond your last possible frost and both night and daytime temperatures are warm. If a seed packet tells me to wait for warm soil, where I live, I will direct sow in the first or second week in June, depending on the weather forecast.
Seed Starting Indoors With Equipment
The Basics
I sow seeds indoors with the intention to transplant outdoors. I don’t actually enjoy doing this sort of indoor gardening work, even though I am successful at it and I have this equipment. I do it because it makes sense for my gardening practice economically and because I enjoy growing varieties I won’t find for sale as transplants in nurseries. Once my frost free date has passed, my lights are turned off until it’s time to sow onion seeds the following January. With an indoor head start, it’s possible to grow and harvest ripe fruit or more ripe fruit from frost tender or heat sensitive plants with a long growing season: tomatoes, peppers, eggplant and tomatillos. It’s also possible to grow timing sensitive crops like onions, cauliflower and cabbage for transplant. Another advantage is getting a head start on your first succession of crops to avoid pests or get an earlier harvest. There are disadvantages, too. You have to make some space in your home for equipment. The equipment uses electricity. There’s also really no way to avoid a mess when you’re working with potting medium inside your home. Also, if you have a Feline Intern Gardener like I do, you may find some of your indoor seedlings have been inexpertly pruned.

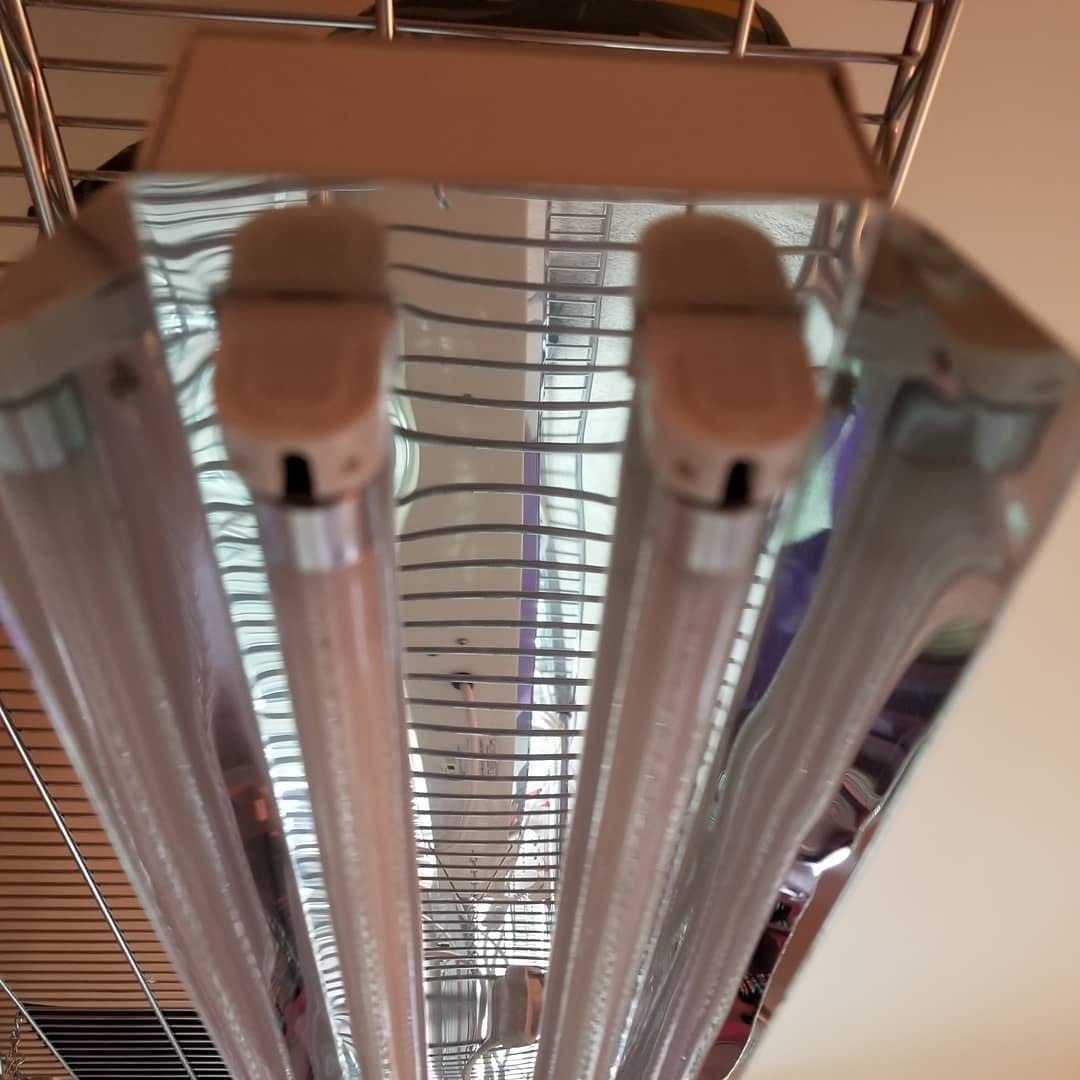
Grow Lights
I started buying equipment more than 15 years ago and I’ve added on slowly over the years as my garden space grew. I started with T5 fluorescent bulbs and fixtures and have had great success with them, so when I needed more lights as my garden space expanded, I decided to stick with what I knew and what worked well for me. The lights have been very reliable. Over the years I’ve had to replace only two of the older fixtures and just a few of the bulbs. Fluorescent lights put out some heat. I found that with two racks of lights in my small home office with the door closed to prevent pets from tampering with the plants, the room got very warm. Plants can grow quickly when they’re warm. If they grow too quickly because it’s too warm for the amount of light they’re getting, the plants will develop weak and thin stems. Gardeners describe this sort of weak, thin, long, seedling using the word leggy. When I had my equipment set up in my home office, I had the heat vents blocked and the windows open in February to try and cool the room. I moved the grow light racks to the unfinished basement last year. Roast Beef, Feline Intern Gardener, can get to the plants there, because there’s no way to keep him out of the area, but the cooler temperatures are an advantage for me and the plants, even if some plants get pruned by cat teeth.
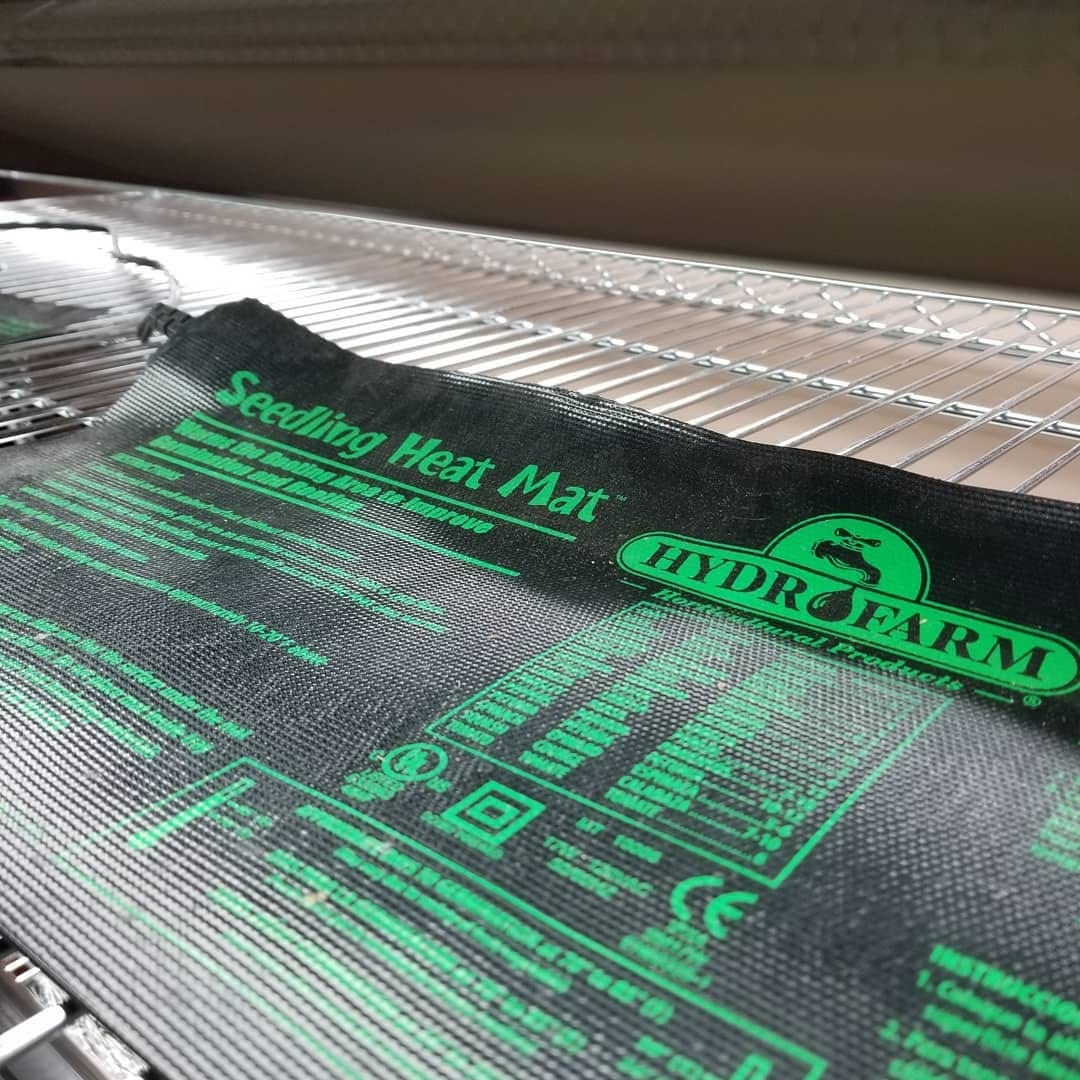
Germination Heat Mats
Germination Hat Mats are specialty electric hot pads that are used to provide bottom heat under flats to increase soil temperature. I use simple heat mats with no temperature control. These are the most inexpensive and basic type of Germination Heat Mat. They raise the temperature enough to germinate seeds with high optimum germination temperatures like peppers, tomatoes, and eggplant. More expensive models are available with temperature controls. These heat mats are only for germinating seeds. Once the seeds germinate, it’s important to remove them from the heat mats. Keeping your plants too warm while under grow lights can result in leggy seedlings.
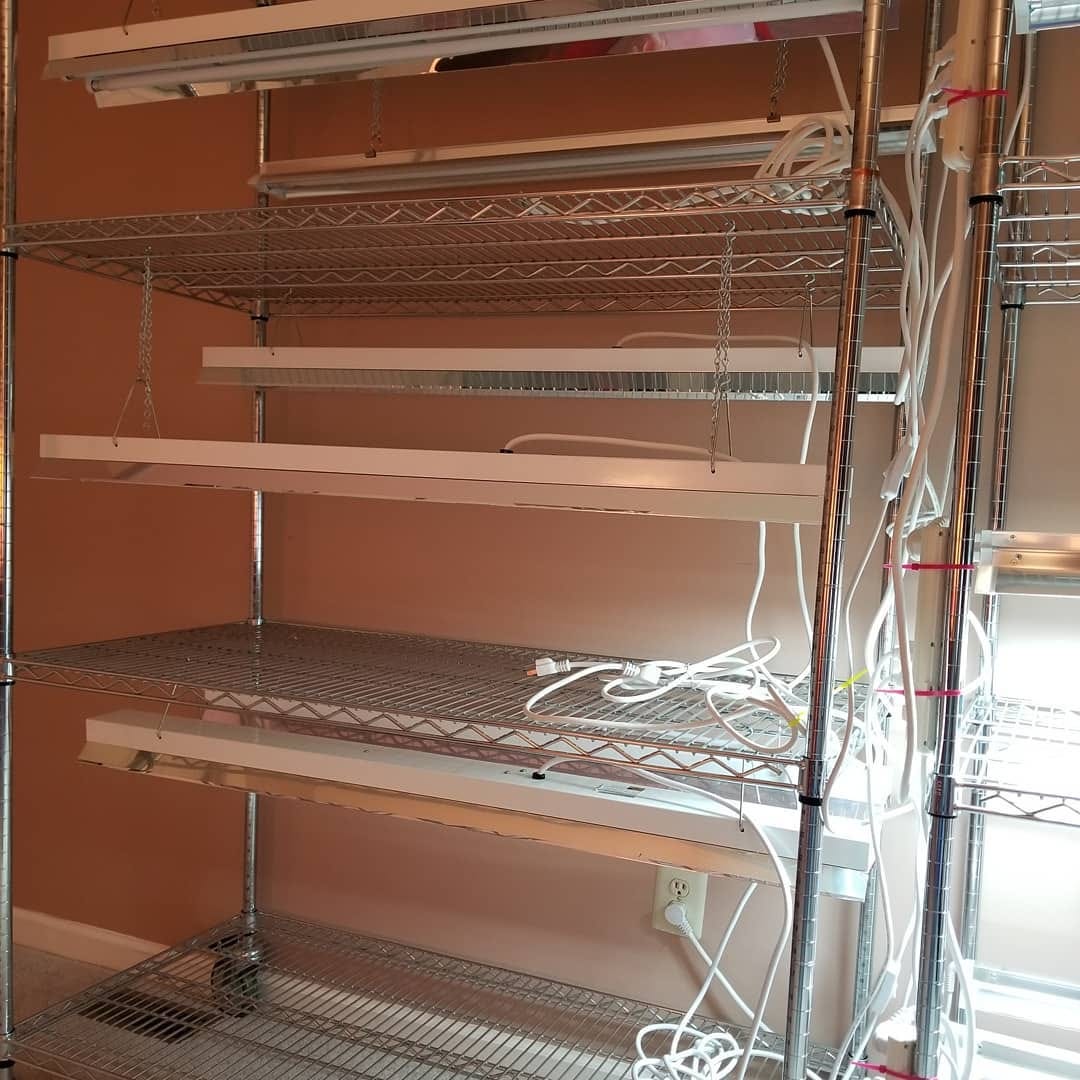
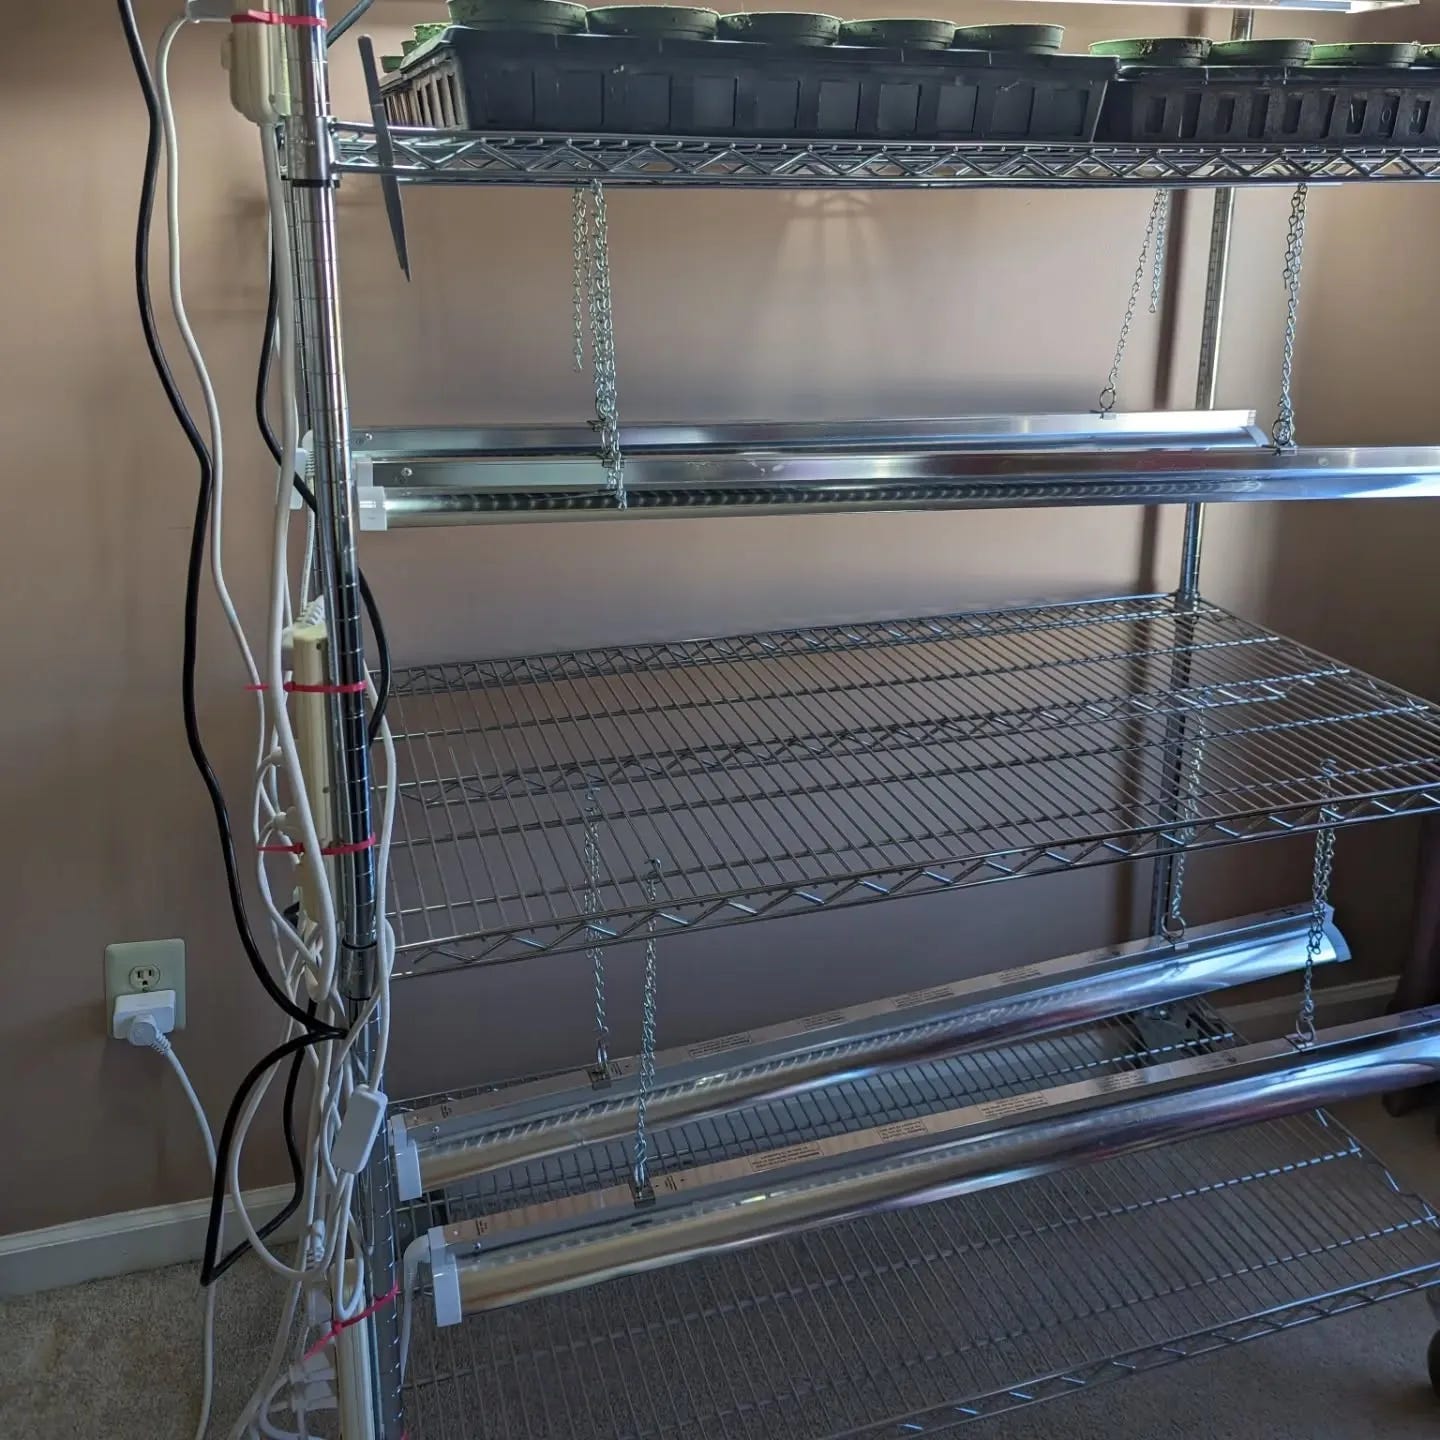
Shelves or Racks
I use metal racks on wheels so I can easily move them. I use S hooks and light chain to hang my grow lights from the shelves on the rack. The S hook and light chain system allows me to raise the lights as the plants grow. With T5 fluorescent lights, it’s important to keep the light very close to the top of the seedlings. Directions may differ for other types of grow lights; I’ve only ever used T5 fluorescent lights. I have space for 24 flats on my two racks. I use cable ties to attach power strips to the upright supports of the racks. The grow lights are plugged into the power strips. The power strips are plugged into an appliance timer to run the lights 14 hours per day.

Nursery Pots, Flats, Soil Blocker, Planting Medium, Labels, and Fertilizer
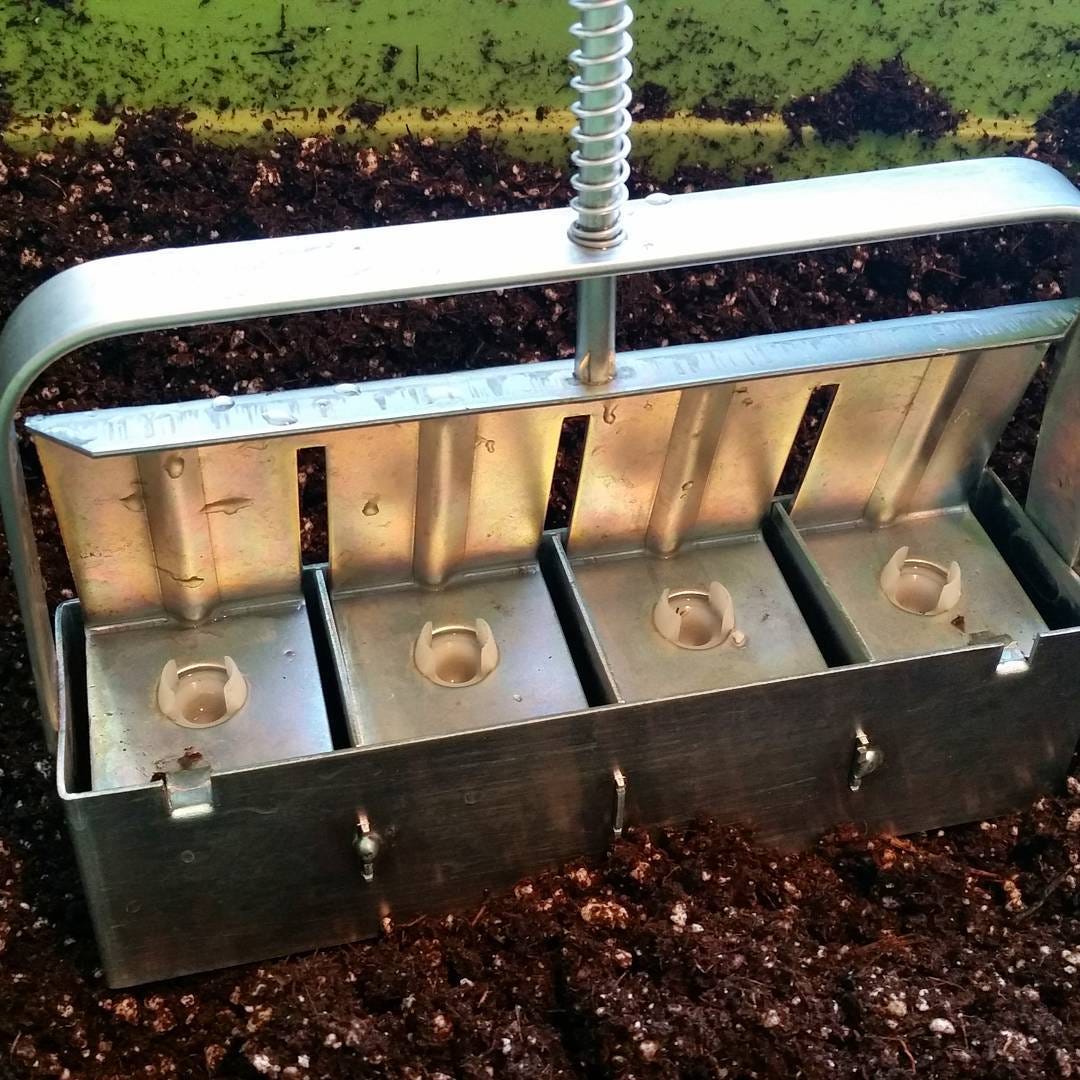
If you’re going to sow seeds indoors for transplant, you’ll need something to sow them in. If you’re just starting out, and perhaps only have one grow light with space for one or two flats under it, I suggest using something like yogurt tubs, folded newspaper pots, or old nursery pots you’ve saved from buying plants at the nursery. In fact, the nursery and hardware store trash piles are great places to shop for seed starting supplies. Almost all of my flats, cell packs, cell trays, and daisy trays are picked from these trash piles, with permission, of course, from the businesses, to make sure they’re actually going to throw them away and not reuse them. You can also purchase supplies from greenhouse centers, nurseries, and some seed vendors. Nursery pots need good drainage, so if you are going to use something like a plastic yogurt tub, you will need to put a lot of drainage holes in the bottom. I use a soil block maker for germinating small seeds. Soil block makers are used to make compressed cubes of planting medium into which seeds are sown. It’s not unlike making a sand castle; pack wet medium into the soil block maker and then press out a set of soil blocks. If you get your timing right, you may be able to transplant soil blocks to the garden without potting them up into a nursery pot. That can be useful for crops like herbs and lettuce. Most often, I pot up my soil blocks into small nursery pots for crops like peppers, tomatoes, eggplant, broccoli, and cabbage.
There’s a lot of information online about seed starting medium. Recently, and rightly so, many gardeners are concerned about the use of peat in potting mediums. Peat is not renewable. I’ve tried a lot of mediums in the past three years, looking for a peat free alternative that is available in a store locally to my home, is affordable, and works. I haven’t been successful in this endeavor yet. I will write a whole post about those trials some day. For now, I am still using Pro-Mix Bx with Mycorrhizae for seed germination and potting up because it is available in a store very close to my home, is affordable, and works very well. It has peat in it.
Depending on your medium of choice, and how long you plan on keeping your plants inside, you will have to fertilize your seedlings. I recommend a fertilizer with a label indicating usability for vegetables and directions for mixing it with water. I’ve used many products over the years, and they’ve all worked well. One warning, however, is to avoid products containing fish for a closed, indoor space, unless you really enjoy the fragrance of fish warmed by grow lights in your home.
You’ll need to find a way to label your seedlings. I use masking tape and a marker labeled specifically for garden use. Sharpie ink fades in the sun; it’s not good for outside use. You could use a regular pencil or grease pencil, too. Some gardeners use wooden craft sticks stuck in their flats or nursery pots. Some gardeners make a paper map of their planted flat. Find what works for you.
Hardening Off
Plants grown indoors with grow lights will need to be slowly introduced to outdoor conditions before they are planted into their permanent homes in the garden. This process is called hardening off. Find a sheltered spot outdoors, in a corner, out of high wind, to set your trays of seedlings. An overcast, cloudy day is ideal for hardening off. Plants can get sunburn, just like people. Their leaves turn shiny and white when exposed to too much sun. Leave your plants outside for a couple of hours on the first day, and slowly increase the amount of time your plants spend outside as each day goes by. I typically budget two weeks of hardening off time before planting seedlings into gardening beds. Avoid high winds, frost, heat, and heavy rain during the hardening off process. Soft indoor seedlings need to toughen their stems to wind and thicken their leaf cuticles to protect from sun. Use daisy trays rather than flats during the hardening off process to prevent your plants from sitting in rain water, if rain is in the forecast. If you’re lucky to have a covered porch, it can be useful during the hardening off process on a rainy day. If you have hoops to support row cover, you could use polyfilm and shade cloth to aid in the hardening off process as well. It’s a lot of work to carry flats indoors and outdoors twice a day, so if you can make use of your existing assets to ease this process, it’s a good idea. I make use of the garage and garden shed to provide shelter for my hardening off plants because it’s easier than carrying them inside and downstairs to the basement one by one.

Indoor Seed Starting Advice
My general gardening advice for any new aspect of gardening is to start slowly and learn as you grow. I started off with a single grow light and space for two flats under the light. Don’t try to do too much in your first year of doing anything completely new. Expand thoughtfully, over time, as your ambition dictates, to avoid overwhelm.
When I first started growing from seed indoors, I sowed my seeds way too soon. Here’s the timing that works for me now. I sow my pepper seeds eight weeks before intended transplant date. I sow my eggplant six weeks before my intended transplant date. I sow my tomatoes five weeks before my intended transplant date. This timing works perfectly for me and has been honed by experience. It’s also backed up by botanical knowledge. Annual crops grow from seed to seed in one year. If your plants are stressed, root bound in a tiny container, have twice as much vegetative growth above the container as their roots have space, they will start reproductive growth in a gambit to produce seeds before they die. If your plants are root bound, and you have to tease apart the roots or turn the tomato seedling sideways into a trench when you plant it, it will spend a lot of time growing underground before you see growth above ground. Your goal is short, squat seedlings with strong stems, dark green leaves, and roots that do not need to be teased apart before you plant them. This minimizes transplant shock. If you want to start your seeds very early, plan on potting them up twice into larger pots to try to avoid some of these issues. That will cost more in planting medium, labor, and space under grow lights.
What are some signs you are sowing your seeds too soon? Are you someone who grows peppers from seed indoors and “tops” their pepper seedlings or has to pull flowers or fruit from their pepper seedlings in nursery pots? That’s because your plants are stressed and going into reproduction mode to try and produce seeds to secure the next generation. You’re probably starting too soon. Are you someone who grows tomatoes from seed indoors and find that you need to stake your tomato plants in their nursery pots because they are too tall? You’re probably starting too soon. Are you someone who grows eggplant from seed and has trouble hardening it off because it always gets sunburn and the big leaves tear and wilt in the wind? You’re probably starting too soon. I’ve been there. I’ve done all of these things. I don’t do them anymore because my results are better when I sow my seeds later, and, as a bonus, it isn’t as much work.
Lastly, keep in mind that all aspects of gardening are best learned by a combinaton of knowledge and practical experience. You may learn about something by reading, but you gain understanding and confidence through experience. Trying and failing is motivation for learning. Try again after you’ve done some troubleshooting, reading, or consulted a mentor. It’s better to scrap leggy and weak seedlings and start again than to try to nurse them along. Take notes about what works for you and what doesn’t. Find out why something didn’t work. Review your notes from the previous year before you start the next year. There is always something new to learn about gardening, even for people who have been gardening for years.
There’s no shame in buying plants from the garden center or nursery. I still do it even though I do all of this seed starting and have all of this equipment. Sometimes I walk past an unusual variety like Cinnamon Basil in the nursery and my curiosity gets the better of me and I have to give it a try. Sometimes the cat eats my California Wonder Pepper seedlings. Sometimes my Poblano Pepper seeds don’t germinate. One year I lost almost all of my tomato seedlings right before transplant when the weight of unexpectedly heavy rain collapsed the low tunnel under which they were hardening off. Every year brings new challenges and lessons in humility for gardeners, our plans change, and as a result we end up buying more plants than we intended for all sorts of reasons. If you haven’t ever tried growing your garden plants from seed, I encourage you to give it a try this year. Buy a packet of green beans, basil, or zinnia seeds and sow some wherever you garden. I guarantee it’s as simple as putting seeds in dirt for most crops. The sense of wonder and satisfaction I feel when I look at my towering tomato plants in September knowing they grew from seeds the size of a pencil point and produced thousands of new seeds doesn’t fade with years of experience.
All of the photos in this article were made by me, of my own garden, of my own produce, of my own equipment, and of the animals and insects that live in or visit my garden in the Philly burbs.
This is great. I had a thing this year where many of my seedlings germinated but then didn’t grow. Just stayed small, eventually died. Maybe too wet?
this was such a jam packed read with so much helpful info, i’m a new gardener this year so i found this especially inspiring ☀️✨